Scrappy Liberty Needlebook TUTORIAL
Today is a double whammy day here at May Chappell! I'm going to show you a tutorial for my Scrappy Liberty Needlebook here and you can head over to Diary of a Quilter to check out a coordinating tutorial for my Scrappy Liberty Pinnie. Welcome to everyone from Diary of a Quilter land!
I've been making these for quilty friend presents for years; they're fun, fast and Liberty! I hope they'll become your go-to stitchy present too!Liberty lawn comes in tons of vintage inspired florals and graphic style prints. And it's downright magical when combined with Essex linen! I'm pretty sure it is my go-to favorite fabric combination. Let’s get started with the needlebook!
Make sure to read through everything before you start stitching.
SIDENOTE: These directions make two needlebooks to keep things scrappy. You’ll want to make one for a friend and one to keep!
Supplies:Eighteen 1 1/4 x 2 1/2” pieces of LibertyTwo 5 x 4 3/4” pieces of linen (Robert Kaufman Essex or similar)Two 5 x 7” pieces of linen (Robert Kaufman Essex or similar)Two 4 x 7" pieces of linen with selvage on one edge Robert Kaufman Essex or similar)Two 4 1/2 x 6 1/2" pieces of feltTwo 6 x 8” pieces of battingOne thin elastic hair tieTwo buttons
Step 1: Stitch each piece of Liberty to another piece of Liberty on the long edge so you have eighteen pairs that each measure 2 1/2 x 2”.
TIP: Shorten your stitch length when stitching lightweight fabrics such as lawn. This will prevent puckering. You can also lower your presser foot pressure if that’s an easy option on your machine.
Step 2: Press to one side. Cut in half so they measure 1 1/4 x 2”.
Step 3: Piece together the Liberty top so that it is three pieces by six pieces alternating the seam direction. Make two with eighteen unique fabrics each.
Step 4: Attach a 5 x 4 3/4” piece of linen along the 5" edge. Place on a piece of batting. Quilt as desired. Make two of each. Trim quilted piece to 5 x 7".
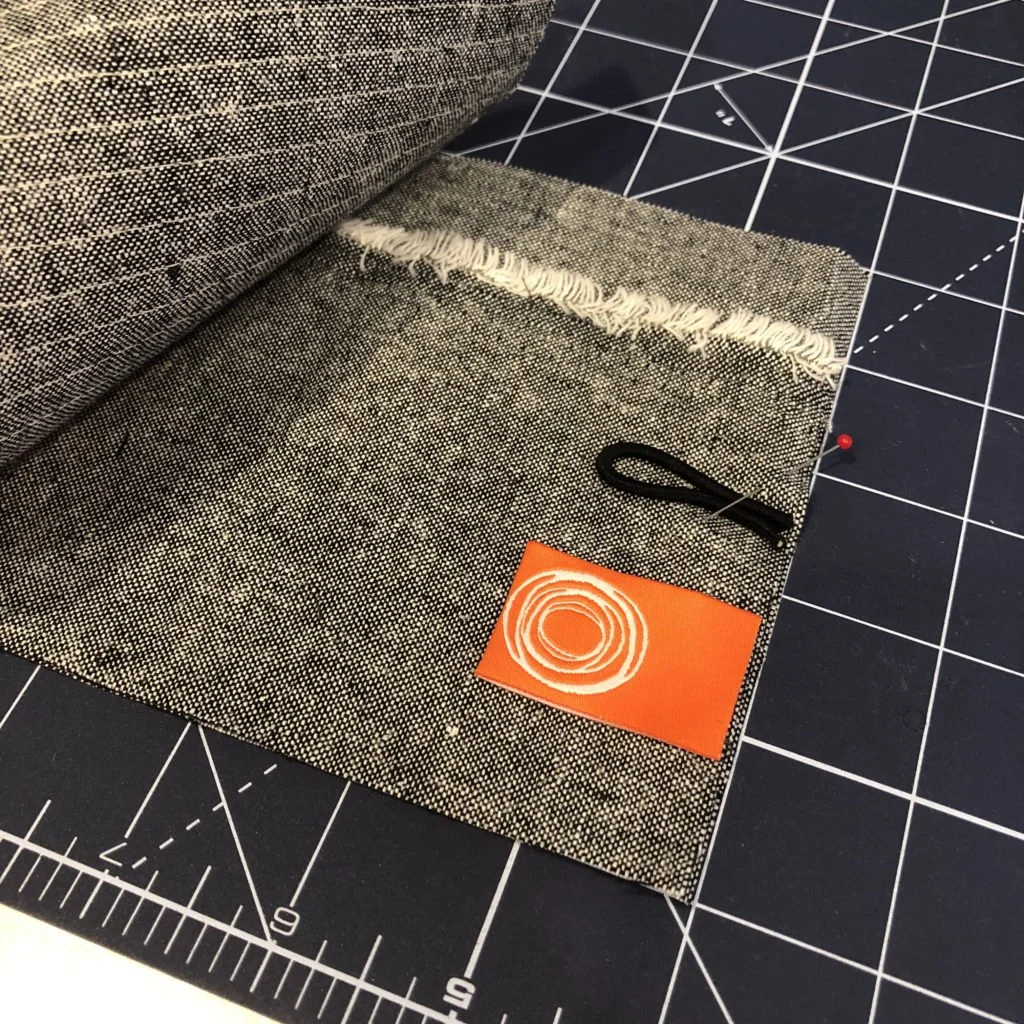
Step 5: Place a 4 x 7" selvage edge piece on top of a 5 x 7" piece of linen. Cut the hair tie in half and place in the center of the right edge as shown. Place the quilted piece right sides together with the Liberty on the opposite edge of the elastic hair tie. Stitch 1/4" all the way around leaving a 2" opening to turn right side out.
TIP:Here’s another great tip for how to stitch the opening!
Step 6: Stitch across the corner about 1/8” from the intersection to round the corner. Trim off the corner as shown.
Step 7: Turn right sides out. Pin the opening closed. Topstitch about 1/8" from the edge.
Step 8: Stitch the felt down the middle to create pages for the needlebook. I trimmed the edges of the felt with the Olfa pinking blade.
Step 9: Attach a button to the face of the needlebook. It's a great opportunity to use a great vintage button. The selvage piece creates the perfect pocket for your scissors, needle packs and anything else you need to keep handy.Fill up your needlebook! Head over to Diary of a Quilter to make the coordinating Liberty pinnie.
Let's start filling our sewing rooms with Liberty!
xx LC


